


")


: A Symphony of Emotions Echoing Through Time")


“The ability of an artist to transfer reality into Art is an incredible talent.”
When we see the works of master painters from all over the world, across the ages, this craft leaves us astounded. But if you have a passion to sketch and paint, or doodle, we at The Uncommon Box have found you someone wonderful who enthusiastically shares his know-how on the matter. Our Uncommon artist is Partha Mukherjee. He is an artist as well as an art critic- so that explains the keen eye for detail. Here is Partha sharing with us his write up- on how to draw portraits with acrylic, with the wash effect.
It is our endeavor at The Uncommon Box to help budding artists with as much guidance they need to grow in style and technique. So let’s begin this master class.
How to make portraits in acrylic with a wash effect.
This edition, lets discuss about making a portrait, in a different style.
-
Acrylic Wash, what’s that?
Rarely do we use a lot (I mean, quite a lot here) of water while doing an acrylic work. Acrylic, as we all know is a bright, quick drying coloring medium, best used to give those effects that are prominent on oil colors. Here, in this project, I have worked on acrylic, washing it off with a lot of water. This has created, a bright watercolor effect.
-
How do I start?
Things needed:
- A topic to paint(that’s a mandate), acrylic colors,
- Paper(suggested you go ahead with papers with higher GSM count),
- Paint brush, and water.
- Of course if it’s a portrait, you shall need a pencil to start off as well
STEPS:
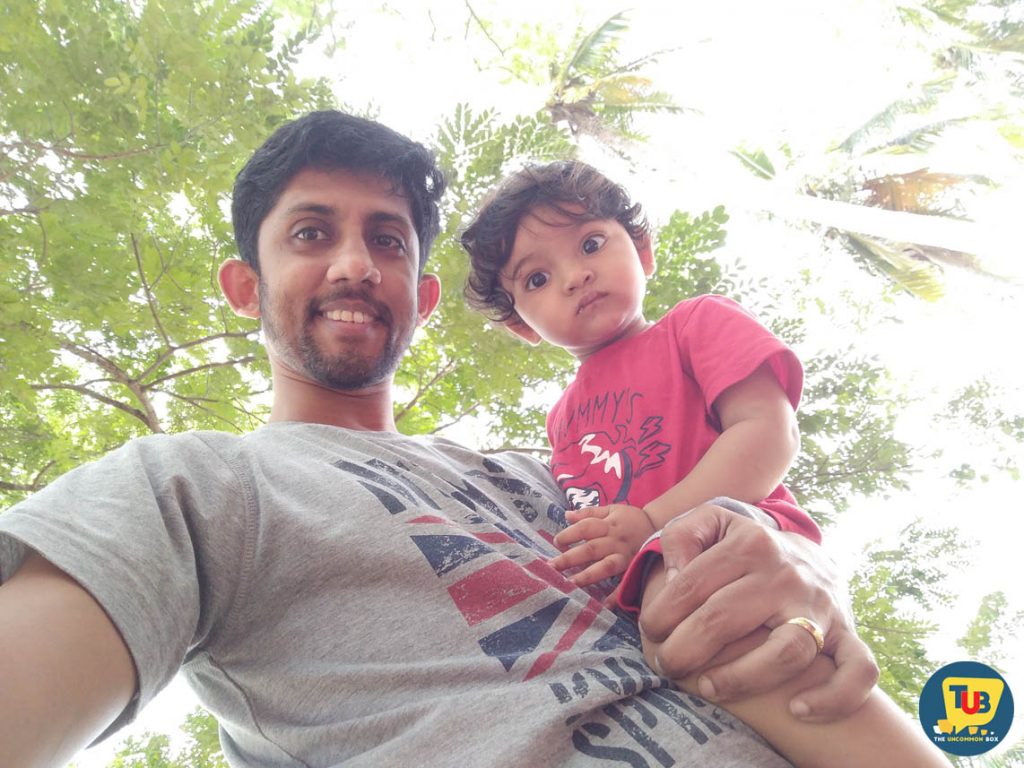
- First, do a check into the original picture and make an idea how to start your work.
Here is the below image I selected. Well this was a commissioned work and the customer is very happy with the outcome of what I did:
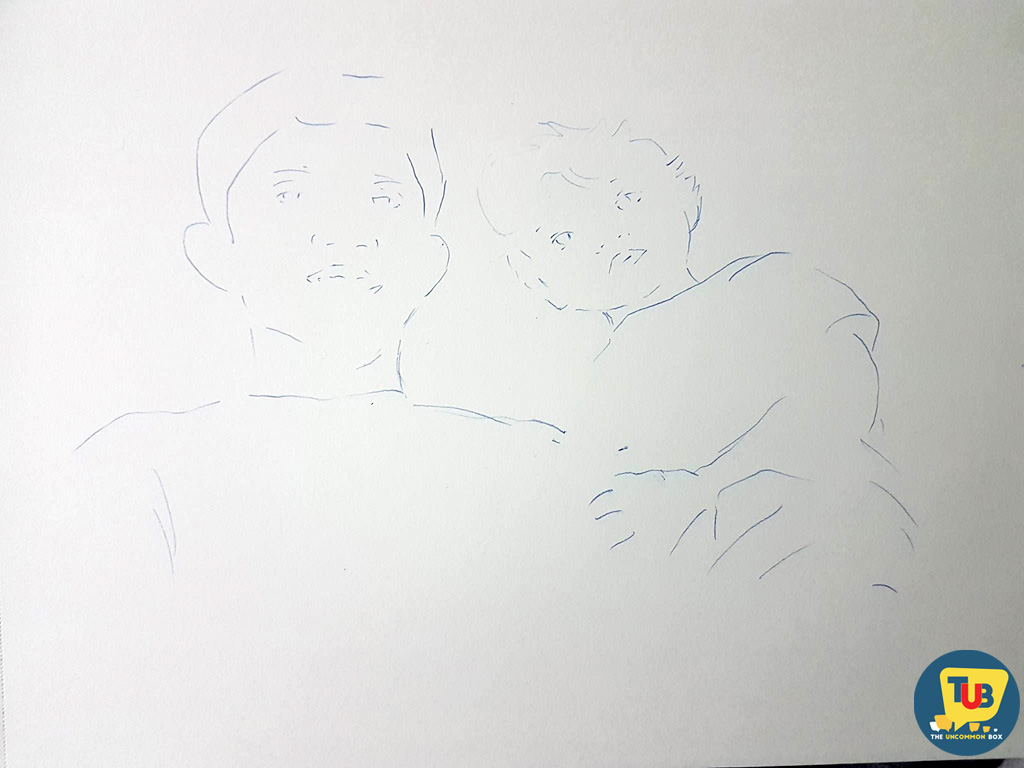
- Next, start off your drawing on a different piece of paper. NOT on the paper on which you are planning to paint. This is important. This is because, if you start off with the sketching on the final paper, and something needs to be erased off for correction, your painting quality shall suffer. What I always do is, I make the sketch on a different piece of paper. Once the sketch is final, I make a copy of the same on the final sheet. Here you are :
- Step 3, yes that’s where we start coloring. Make the basic coloring, and focus on the eyes. This may seem a bottom up technique, but it works for me. I first focus on the areas which the most important, and plan for coloring the same and planning highlights for the same as well accordingly. So, here we are with the eyes planned, and the remaining colors done. Check on the way its colored. The color is watery, washy, but brushy. The colors were very wet- wet enough to create that merging effect with each other. I leave the choice of colors to you. I personally like bright colors everywhere and hence these choices of colors here. Here is how the first show looks like:
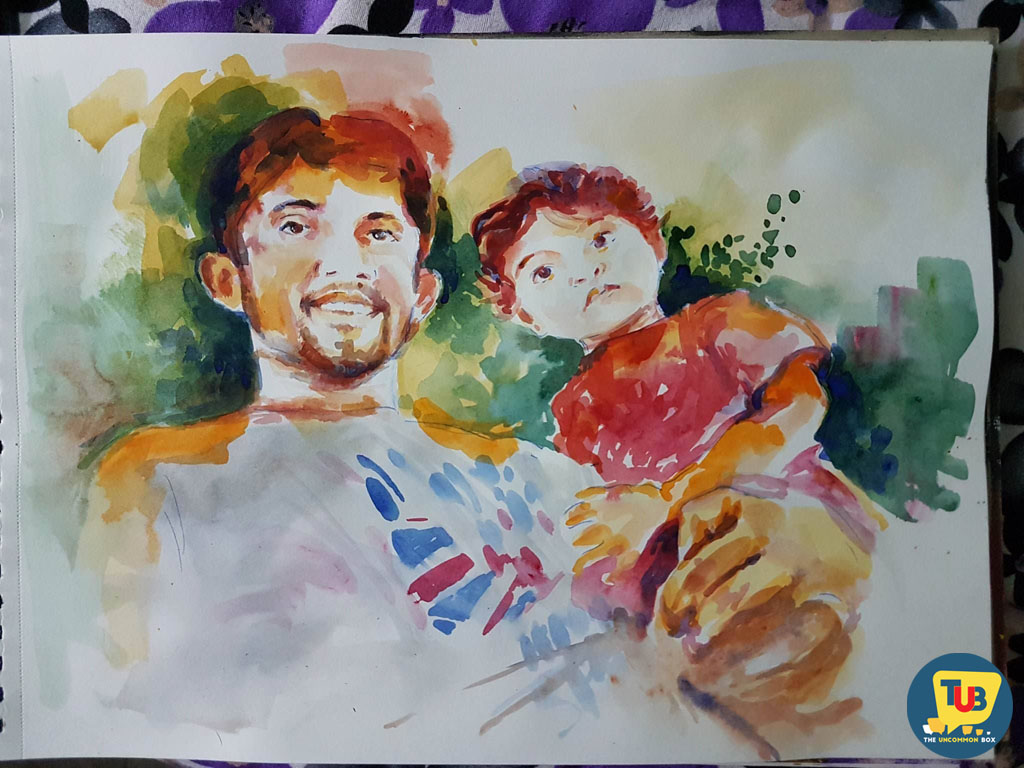
- Go ahead with creating more highlights lowlights, making sure that none of the colors are applied dry, Keep the paper wet all time. However, once a layer of color is applied, please let it dry for some time, as multiple color mixes in layer will kill the effect. Acrylic colors are too bright to handle and hence it will not take a lot of layers to finish it off. The above status was after 2 layers of painting. Here we are with the status after 3 more wash layers :
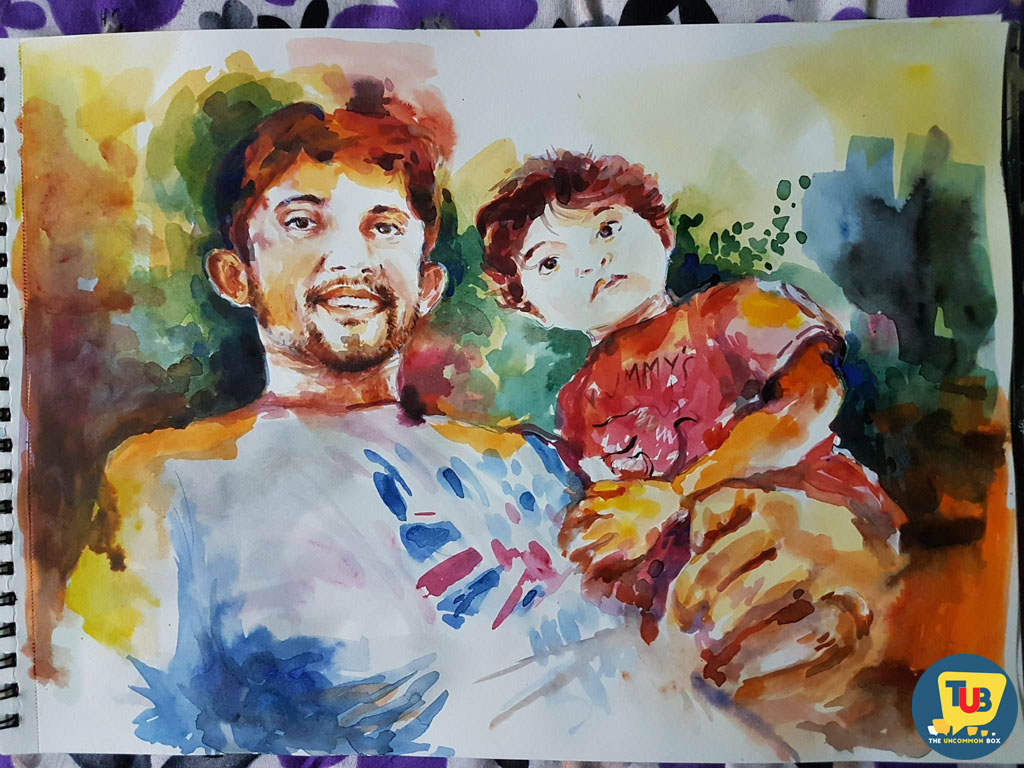
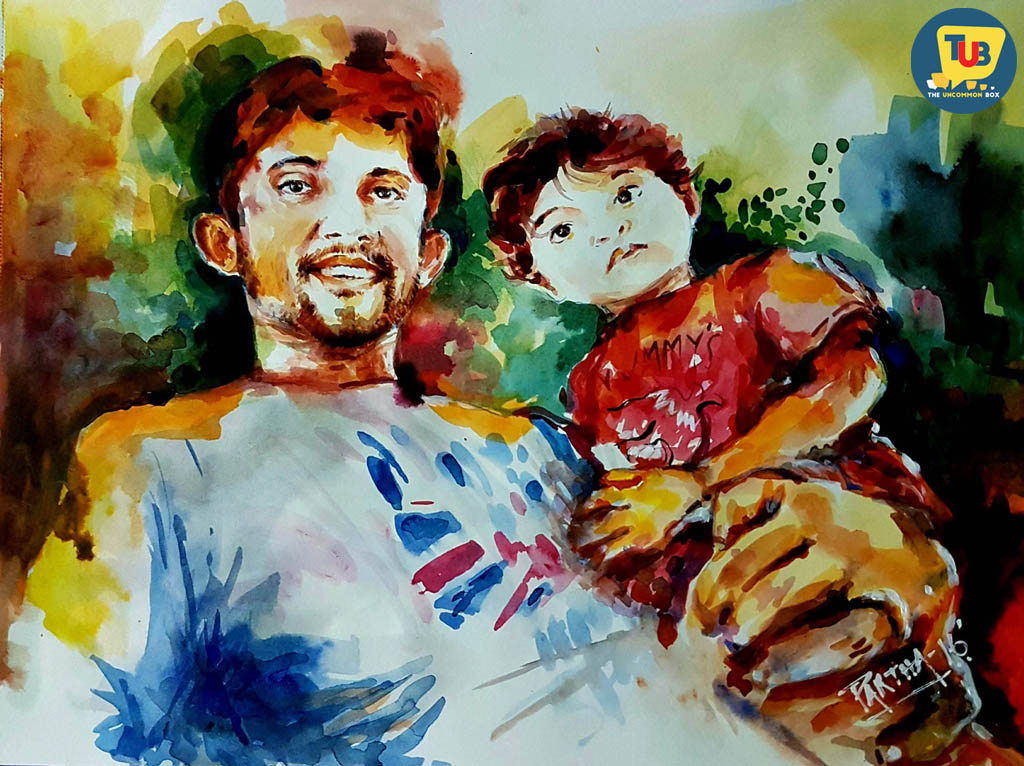
- Next, start focusing on the remaining areas, use a bit of dry color for beard if you may (I did that). Things like hands, T-shirt writings are focused last. Try to keep the focus limited. The subject cannot lose importance. Here we are with the final product, just before it was sent off to framing. It’s after a number of more layers that this oozing colors showed themselves:
THINGS TO KEEP IN MIND:
One thing to keep in mind is, please do not use dry colors on washed colors, it shall kill the effect. Do not work on a new layer when the old layer is wet, it shall also kill the effect. Work with fat round brushes, it has more water retention; your brush shall be wet longer.
With all these in mind, I am sure you all shall create beautiful masterpieces as well.
If you have been enthused enough to try out the steps enumerated in this write up, do leave your comments in the form of the portrait you created after following these steps! We would love to hear from you. Partha Mukherjee has clearly elucidated the steps and we are sure many will be encouraged to take up that piece of blank paper and pencil
You can find more of Partha Mukherjee’s work on
Do you have the skills to teach us some new technique in art or craft? Please write in to us at theuncommonbox@gmail.com or use the submission portal on the website www.theuncommonbox.com
We encourage all kind of talented piece of work whether it’s a writeup’s, articles, poems, sketches, doodling, painting, food styling or about fashion or travelling or photography.
If you are on instagram follow us @TheUncommonBox and use our hashtag #TheUncommonBox for the same.
You can reach us on FB Page too by following our page “THE UNCOMMON BOX”. and can tweet @THEUNCOMMONBOX
